Counter Die
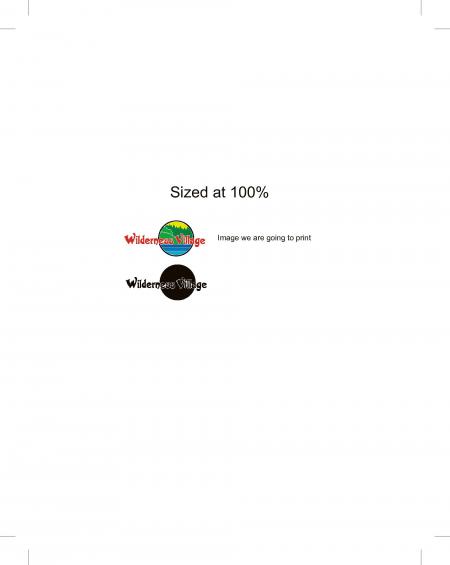
Hello, we are new to embossing, as we’ve had a Heidelberg windmill letterpress for 25 years and use it for numbering and diecutting only. I have a customer supplied embossing die with no counter die. I read on your website that we should build a counter die on the press. I understand the concept but this is a small intricate die. If we want to cut away the die imprint, how would we go about that? My first thought is to get this image imprinted on a piece of paper and apply Mactac to that image building one layer at a time and cutting away the excess. Just not sure if that is the right process and how many layers to cut away. Secondly, would we have to be exact? This would take a steady hand and hours of time. I have included a PDF of the image we are printing and the die. Do we have to cut around each letter? Your advice Is appreciated…

wvcg emboss die.jpg
Note: The image shows 100% but it was resized for the website automatically. It is actually for a business card and is about 1” x 2”, slightly larger than the image you see. Dan
Yes, you can make your own counter for the embossing die. What is the die made of…..copper, brass, mag, etc? Is there a bevel, multiple levels? How many up is the die? How long is the run? Please feel free to contact me and I would be happy to help you.
Good questions. It is a brass die, no multiple levels, one up, 1000 run.
It would be faster (makeready) if you had a precast counter made. Universal Engraving Inc. in Overland Park, Kansas is just one company that can make it for you. If you want to make your own counter they can sell you the engraving board and other supplies you would need. As you mentioned, you would have to hand cut around all the non image areas… tedious and time consuming.
There are many materials which can be used to “pour” a counter-die. One of the best is a material called Counter Cast. It is a powder which is mixed with a fast-drying solvent. The mixed material is spread on the counter board on the platen, covered with a thin plastic sheet and the press closed for a short time until the material sets.
An alternative material which can be quite effective is auto body putty (Bondo) which is a two part material, which when mixed together also sets up quickly. Just as the Counter Cast, you spread the Bondo on the counter board on the platen and cover with plastic (I use kitchen plastic wrap or the a piece cut from the thin plastic bags from the grocery store.
Close the platen and let it sit for a minute. Once opened, peel off the plastic and trim the excess with a razor knife.
Yet another, much easier, alternative is plastic hot melt sticks from the craft store. You must work quickly, but for small dies, it can be quite effective. Using an inexpensive electric gun, squeeze out a layer of the hot melt in the die area. Lay a piece of the thin plastic over it and close the platen. The material sets up immediately when the plastic hits the cold die. The squeeze-out can be trimmed and you are ready to go. The plastic is somewhat compressible, but for some dies this can be very effective.
These three methods have the advantage of always being in complete register with the die as they are formed after the die is mounted and in position in the press. If you are using a heated die, avoid the hot melt method, but the counter cast or bondo will work.
Another possibility is Pragotherm. API has it. Very easy to use.
i have used the countercast method many times. it works well. an alternative i have been using is layers of duct tape with a final layer of cellophane tape to keep the paper from sticking to the duct tape. it’s quick and holds up for runs of 1000 or less.