How to match two plates for Vandecook
Hi, I am trying to create a image.
I am going to use 8.5x11 size paper for Vandercook.
The image has two colors so I ordered at boxcar press.
But I am not sure how to match the 2 plates and make my artwork successful.
Both plate doesn’t have crop marks.
I tried to check the same subject but I couldn’t find it.
I hope I can get some idea from here.
I am going to attach 3 images.
One is a final image I want to create.
The other two are the image I sent out to Boxcar press.
I hope I am going to be able to use the plates…
Thank you for your help!

final image.jpg
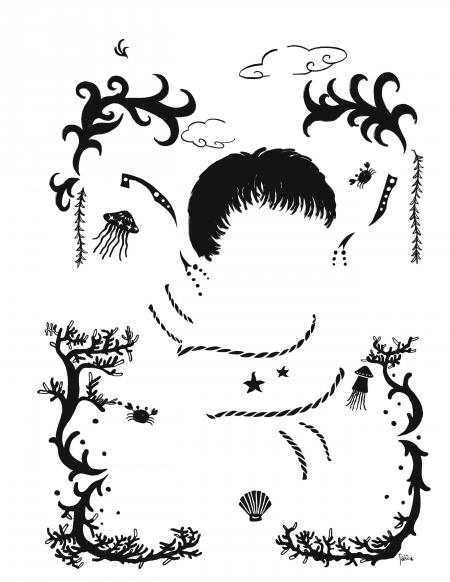
plate1.jpg

plate2.jpg
Do you have a boxcar base with a grid? You didn’t say whether you ordered plastic-backed or steel-backed plates. If you have the base with the grid and are using plastic-backed plates, it’s just a matter of taking note where certain elements one plate line up and then using that when putting down the 2nd plate. Between colors, don’t change the paper guide or where your base is locked up onthe press bed. This will help eliminate some variables. After that, it’ll be some trial and error.
Yeah, the grid should make it pretty easy really.
Thank you.
I am planning to rent a studio and I see they have a big boxcar grid base. I am not sure if my plate will be plastic-backed base. I ordered from Boxcar press and they recommended me KF95. I hope it is the one.
The plate will be here today or tomorrow, so I will try your direction.
Thank you for your help!
Yes, the KF95 is plastic-backed for the standard boxcar base. It really does make it pretty easy.
If you need to make minute adjustments to get the second color to line up, you can either try to re-position the second plate or then you can do some paper guide adjustments. Just keep that as your last resort.
Put crop marks on the file, place the plate on your base in the correct position and then cut the crop marks off before you print. This will give you the correct position for the next plate. You should only need crop marks either on the head of the sheet or tail. Then you’ll have the correct position when you put down the next plate and after you have it down on your base then trim those off too.
Casey
Inky Lips Letterpress
Takako:
Take an impression on translucent paper or clear film during your first run. With the first plate still mounted on the base, tape the film to the base at one edge so you can fold it back, remove the first plate and use the overlay as a guide in positioning the second plate.
Also, if boxcar cuts the plate edges to match, you oculd put some tape down on the base adjacent to the edge of the plate and plunk the second plate down in the same place as the first.
Since the plates are poly-backed and you can see through them, you could line the images up with one plate over the other and then mark the first plate’s edges on the second so you could use those marks and some tape on the base to align the second plate.
You should be able to get it close enough to use the front and side paper stops on the feedboard and cylinder to refine the alignment.
Why was the plates made without crop marks?
Aaron:
There are times I omit crop marks on my images just to conserve plate material. If a small printed image is being printed in the center of a page, it doesn’t really make sense to use up a full page worth of plate material to produce it.
Dont use crop marks on page trim, use the crop marks near the image area and then cut them off with scissors before printing. After you’ve printed place the crop marks back down on the base and then remove the plate, the crop marks remain on the base for registration of next plate. Remove one side of crop marks on base and place the next plate down in the same position and then again for the other corner.
I’ll print a 3-5 setups with crop marks and then take them off and print the run. I’ll place the next plate down with crop marks and use the setups for registration. I can usually get it in 2-3, then I’ll trim the crop marks off the second plate and continue with the second color.
edited
Takako
With this project you would need some kind of registration marking no matter what kind of plate or base. I personally do not use crop marks but rather registration lines. If not you will be spending a great deal of time getting these in register and likely a great loss of paper.
A couple of registration lines put into your files would save you a great deal of time and money.
Since I make plates for folks and print from plates myself I just do not understand the need to save a few bucks on the neg/plate cost by eliminating registration guides and then suffer such incredible time waste and effort during the printing process.
Gerald
http://BielerPress.blogspot.com
I worked for a place that made rubber plates for printing on corrugated boxes, sometimes we had to send registered proofs to the customer. The dies were stapled to a wooden base that was locked in the bed, there was a piece of clear heavy film that has a square piece of furniture nailed on one end, this was put on the die and rubbed by hand to get your position, when we put the second die down this was laid over it to get position then stapled second die down. This works pretty good but takes time, we didn’t have any registration marks on some of the dies. I’ll have to agree with Gerald, you’ll spend far more time and waste a lot of paper trying to save a couple of bucks on smaller plates and stock. Go for the registration lines, Dick G.
Again, thank you very much for all.
Yes, I will try to add registration marks next time.
This order was my first order and I was planning to use 8.5 x 11 paper so I thought I don’t have enough space for crop marks…. (my final size is 8.5 x 11 so….)
I guess I need to use tabloid size for this project and trim the papers in the end.
I will try my best this time and make sure to add registration marks for next order.
Thank you very much!
Depending on the press you use (doesn’t work as well on a Vandercook because of the curved cylinder) you could do the following.
Make sure you have a print that is well registered to your paper.
Take your photopolymer and align it face down on the first-color print.
FOR A PLATEN PRESS: Use a magnifying glass to help you get things really aligned as well a you can. Then put SMALL pieces of double stick on a few of the printing surfaces of the plate and adhere the plate to the first-color print. Put your first-color print with the photopolymer in the registration pins making sure it is very well positioned. Then close your press slowly so the adhesive on the photopolymer sticks in the right spot on your base.
FOR A VANDERCOOK: If you are doing this on a Vandercook it is critical to use the double-stick tape right at the leading edge of the photopolymer so it doesn’t get misaligned when it contacts the Boxcar base.
At the very least you will be within a point of being accurate.
A COUPLE OF OTHER POINTS: We like the Kort registration pins for use on our platen presses as we seem to be able to make very small adjustments to them to get the registration more accurate.
When we are doing this on the Vandercook it is important to start the printing process with your registration knobs set in the middle of their movement so you have plenty of room to make adjustments and not get jammed at either extreme.
I hope you don’t mind me jumping in here. I’m printing my first “real” job which is a one color + blind impressions and have been trying to decide which would be best, crop marks or registration marks? It seems to me they will both do the same thing as far as aligning the plates. I thought for me the best would be crop marks so I can use them for trimming my paper to size…why do you cut registration/crop marks off before you print?