Printing to the very edge of the paper?
This is probably a very dumb question to you seasoned letterpress folks out there, but I’ll still risk asking it. If I want to print a design on, say, an invitation that appears to be cut off abruptly, how would I go about doing that? Do you cut the paper larger than needed, press, and then trim it up and cut off the excess or do you cut to size and then just press, allowing some overhang of your design which will press into your tympan? I see there being a very big risk of ink on the back of the project by doing the latter, but I’m not sure.
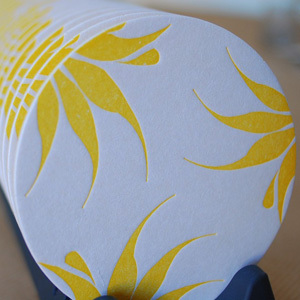
Basically, how do you print to the very edge of the paper without making a mess, and can you do it without having custom dies made? This isn’t exactly what I’m trying to do, but it shows the general idea:
300-6.jpg
Try google-ing the words bleed and print together.
Should get you all the info you need!
For example:
“BLEEDING EDGES / BLEEDS - When a page or a cover design extends to and off the edge of the paper it is called a “bleed”. In print design, the artwork or block of color must extend off the edge of the page. The artwork or block of color is then printed on larger-size paper. Then the printed page is trimmed to the desired size.”
I didn’t know it was called a “bleed.” Thanks! That pretty much answers it :)
Steph -
You don’t always have to print on bigger stock and then cut your piece down to size. Simply put a piece of 20lb stock that’s a little larger than your paper under each piece that you print. The 20lb piece will catch the bleed and not allow it to print on your typman. Arrange your paper before hand; good stock, 20lb, good stock, 20lb, etc. Then just feed both pieces each time. Just be careful when you seperate both pieces so that you don’t offset the ink on the 20lb piece to the back of your good stock. Make sense?
Happy printing!
We use a Mylar sheet on top of our packing. Allow the bleed and just wipe the Mylar every so often. Easy!
I am still a firm believer in using a larger sheet of paper just to be sure gauge pins are out of the way of the art, plate, base or whatever. Then trim to size or die cut.