How to make your own Wooden Base
This week I helped my fiance create a wooden base for her Adana 8x5. It’s not terrribly complicated, but I thought I’d post our process here for anyone looking to do the same. If like us, you own a smaller press due to limited space, you may find this method helpful, as it only involves access to a hardware store, and a drill- which can be borrowed from a friend if you don’t have your own.
The main thing with making your own base, is counter-sinking (recessing) the bolts into the wood, to ensure they do not stick out and cause the base to wobble. I’ll explain below what bolts we used and what drill bits were necessary.
Okay, pretty much any big box hardware store such as Home Depot or Lowe’s sell a variety of wood planks that they will cut for free to any length you desire. I didn’t know this before, but it’s quite helpful. We decided to buy a length of oak, for its strength, getting a 12” wide plank cut down to 18” in length.
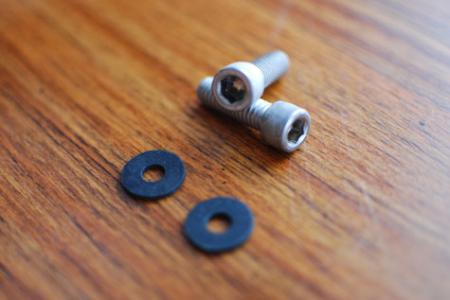
Next, you will need a couple of bolts. The bolts we chose were very specific hex bolts- this allows you to easily countersink the head of the bolt into your board. A more standard bolt would require the use of a socket, which would mean a much larger countersinking hole would be necessary. A bolt 1.5” in length should do it.
Get a couple of nuts that fit the bolts- these hex bolts had different threading so make sure the nuts are what you need. We also found a couple of neoprene (rubber) washers. I’d recommend going this route over metal to avoid unnecessarily scratching your press.
Okay lastly, you’ll need two drill bits. The first bit is a standard drill bit, and should be the thickness of the body of your bolt. Just hold up your bolt next to the bit to chose the right size. Second, you’ll need a larger bit the size of the bolt’s head- our bolt needed 1/2” bit. They make standard bits this size, but they were at least twice as much as this cheap one.
Oh, and while you’re there, grab some polyurethane- best protect the wood from the barage of ink and water its going to face.
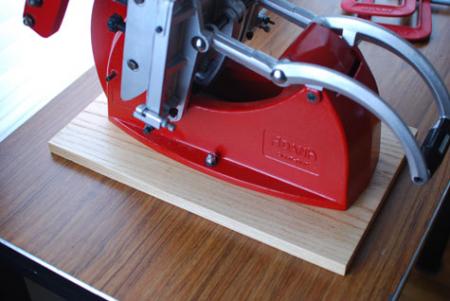
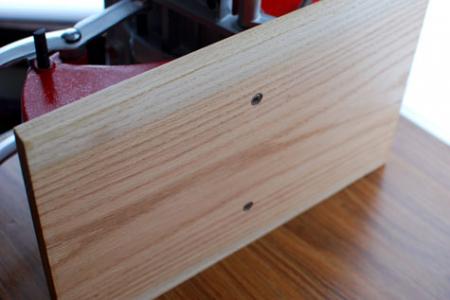
Back at home lay your board out upside down (if you have a preferred side) and place your press on top. Make sure its centered, measuring from all sides. Mark the holes with a pencil. Remove the press (of course!). First drill the hole using the smaller drill bit, for the bolts body. Test to make sure the bolt fits in the hole.
Next, using the larger bit, drill the same hole only to the depth of the bolt head. You will not go all the way through the board with the larger bit…you are only looking to create enough room for the bolt to clear the surface. If you use the cheap drill bit like I did, do this carefully and centerred within the hole, those bits can be a little tricky.
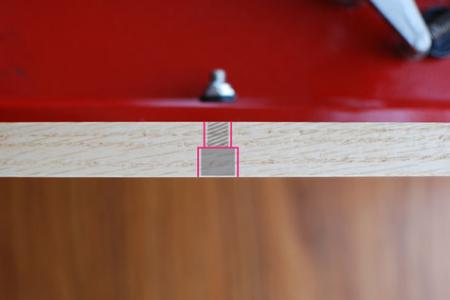
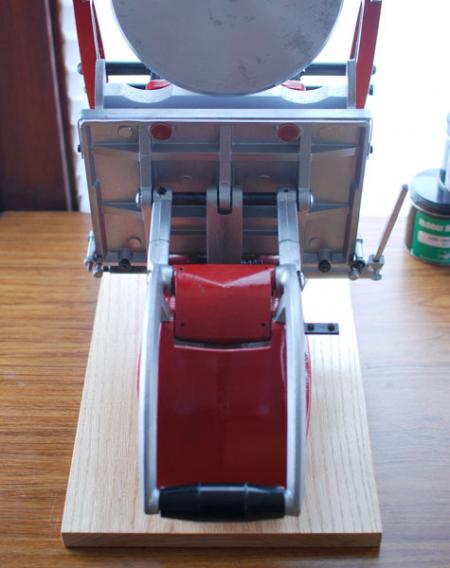
Right, so place your bolts in the holes - they should now clear the surface of the wood, as seen in my pics below. Apply 2 coats of polyurethane to the base. Once totally dry, attach it to your press using the nuts and rubber washers. Clamp your base to a table and you’re good to go. The whole cost for the board, bits and bolts, was around 20-25 bucks.
adana1.jpg
adana2.jpg
adana3.jpg

adana4.jpg
adana5.jpg
adana6.jpg
Hi dtsgd,
I don’t even have a tabletop press and I enjoyed reading your instructions. Well done! You could be of great use to the letterpress community. Please consider establishing a website or Flickr page for providing more of your exceedingly clear explanations of how to do things.
Barbara