Photopolymer problems
Hi!
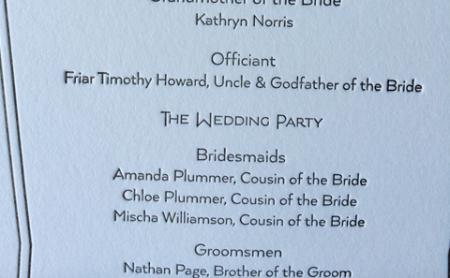
I’m printing a wedding program on my Challenge and the rollers are going the length of the text, the line of type is about 2.5 inches long, and it’s printing darker on the ends of the text lines. You can’t notice on most of the lines, but the two longer lines of text are the worst. How can I fix this and why is it happening? Is it a press issue or a plate issue?
Thanks!!
printing_bad.jpg
What press are you using and how do you have the plate locked up in the chase?
Brad.
It’s a challenge. The plate is photopolymer with a boxcar base, and it’s 10 inches long but is parallel to the rollers, so it’s printing it the short way. Does that make sense? I also have another piece of the suite behind this one on the bed, and that one is printing perfectly.
An MP15 Challenge.
I think it’s your packing and your inking. You’re trying to hit it a bit hard so when the cylinder is rolling over a small area, like the end of a line, there is lots of pressure being applied to that small area. That’s why the middle looks good, lots of other surface area to spread out the impression. Same thing with the rollers, they’re set too low so they slurr on the beginning and end of the line, but in the middle they’re being supported by the image and are riding along in the right spot.
This is how I setup my 15mp, raise the rollers up so they don’t touch the plate at all and pull prints on scrap paper and slowly lower the rollers until they’re set correctly. Do this with light impression and then start to pack it for the impression you’d desire.
Any form, whether plate or text is going to print this way initially. Back off your overall impression, and add tissue paper makeready to the center of the form. Since this is a plate you would be better off to make ready under the tympan on the cylinder.
Take a piece of 20 lb bond, cut it to fit the low areas and glue under tympan. This will bring up the impression in the centre.
Rather than cutting, tear whatever thin sheet of paper that you use for makeready. A cut edge can show a sharp edge on your printed paper. The feathering of a tear will help to blend the different heights of your makeready. Tissue paper, the kind you might use for wrapping gifts, is easier to tear accurately, and by adding several layers you can bring up the image more accurately.
Thanks! Tissue paper is a good idea!
Another factor for deep impression is using hard packing. This looks like soft packing. The idea is to compress the soft paper fibers rather than trying to punch the impression through to the back of the sheet. The procedure to level out the impression is “makeready,” a process that eludes many a printer, but that is well explained and demonstrated in the several books, such as General Printing and Practice of Printing, that should be in every printer’s library. That is if you recall what a library is.
I use an old phone book and tear bits out to fit whenever I have makeready issues. The pages are hard, thin, and smooth. Plus, I’ll never, ever run out of makeready material!
—
Michael Hurley
Titivilus Press
Memphis, TN